It is possible to redirect calls from the virtual number you have purchased to any softphone app of your preference. Zoiper is among the most favored apps, which offers several advantages, such as a straightforward interface and a user-friendly setup process that lets you start within a minute after installation.
In order to use Zoiper on your iPhone, please do the following:
- In your personal account, purchase a virtual voice number of the country you are interested in, and then request a SIP account in the “SIP SETTINGS” section.
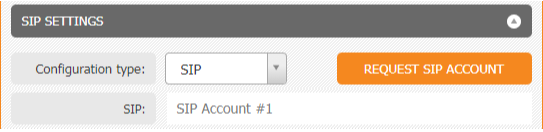
After some time, the credentials of the SIP account will appear in this section. Using this data, it is possible to log in to various SIP phones (softphones). - Find and download Zoiper from the App Store.
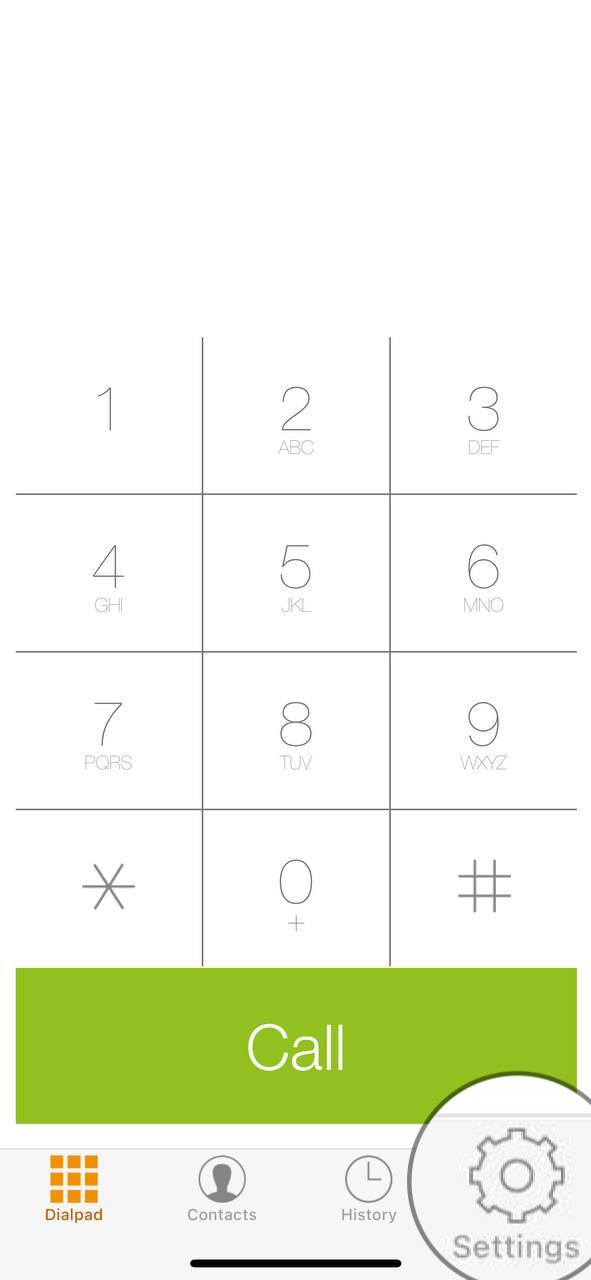
- After the download is complete, launch the app and press the ''Settings'' button.
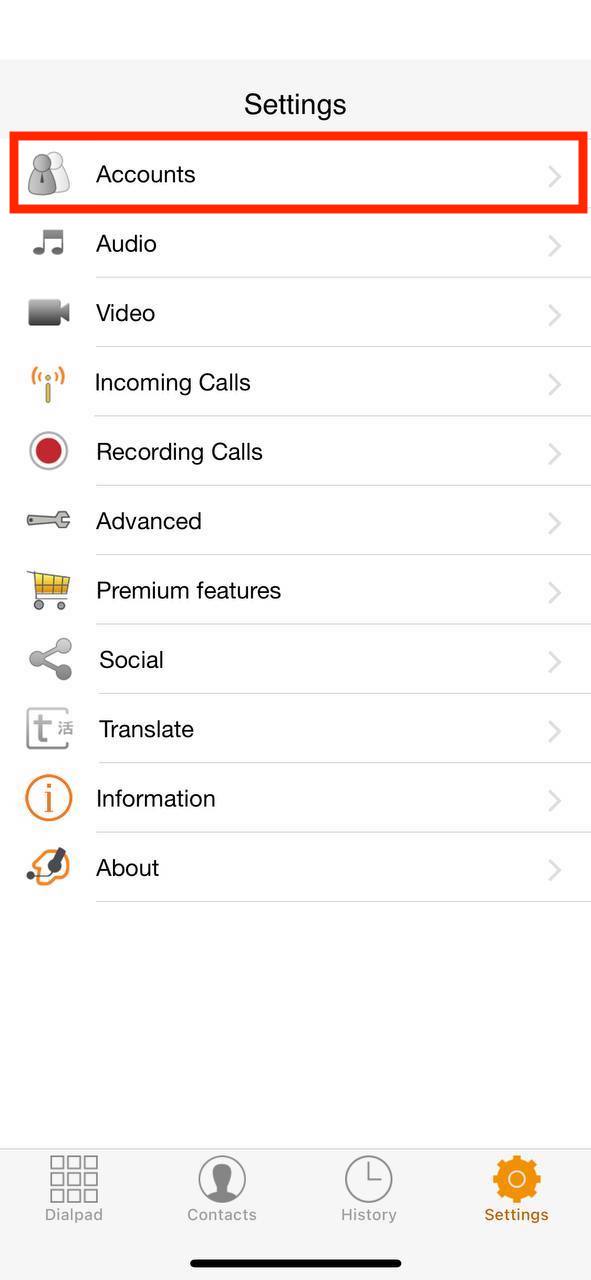
- While in the ''Settings'' screen, click on the ''Accounts'' button.
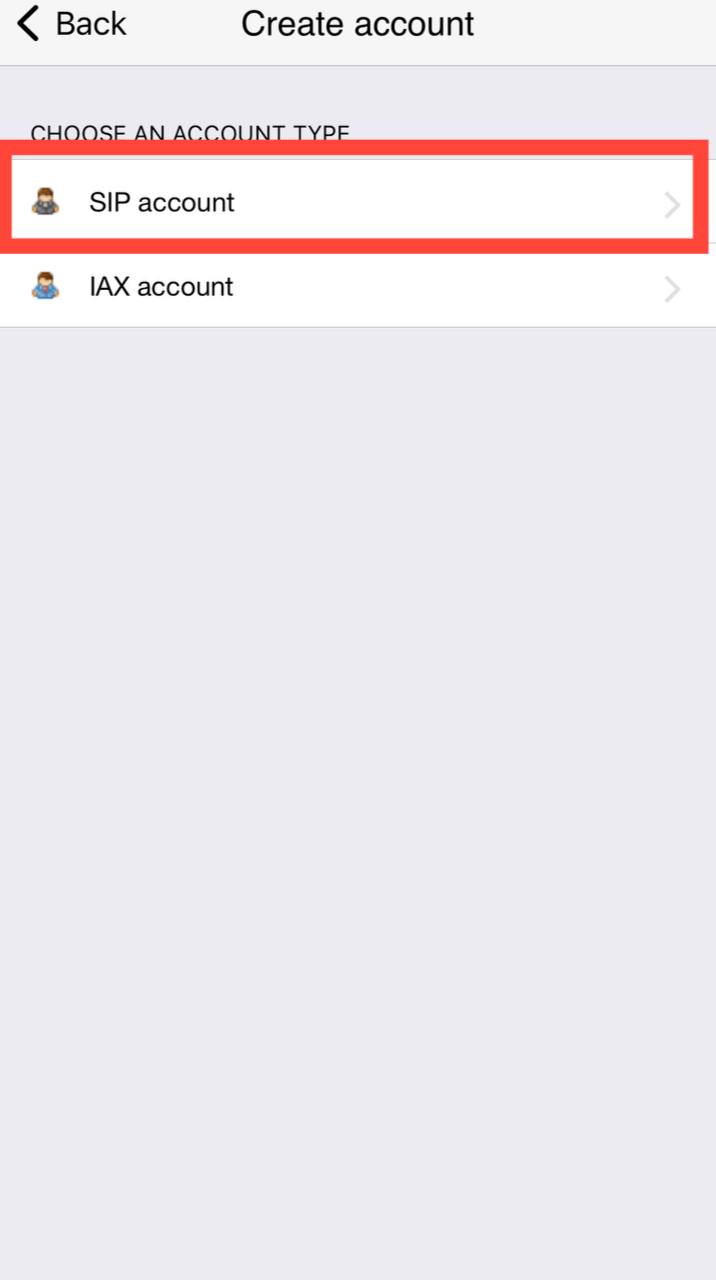
- Press the ''+'' button, then indicate that you have an account and select ''Manual configuration''.
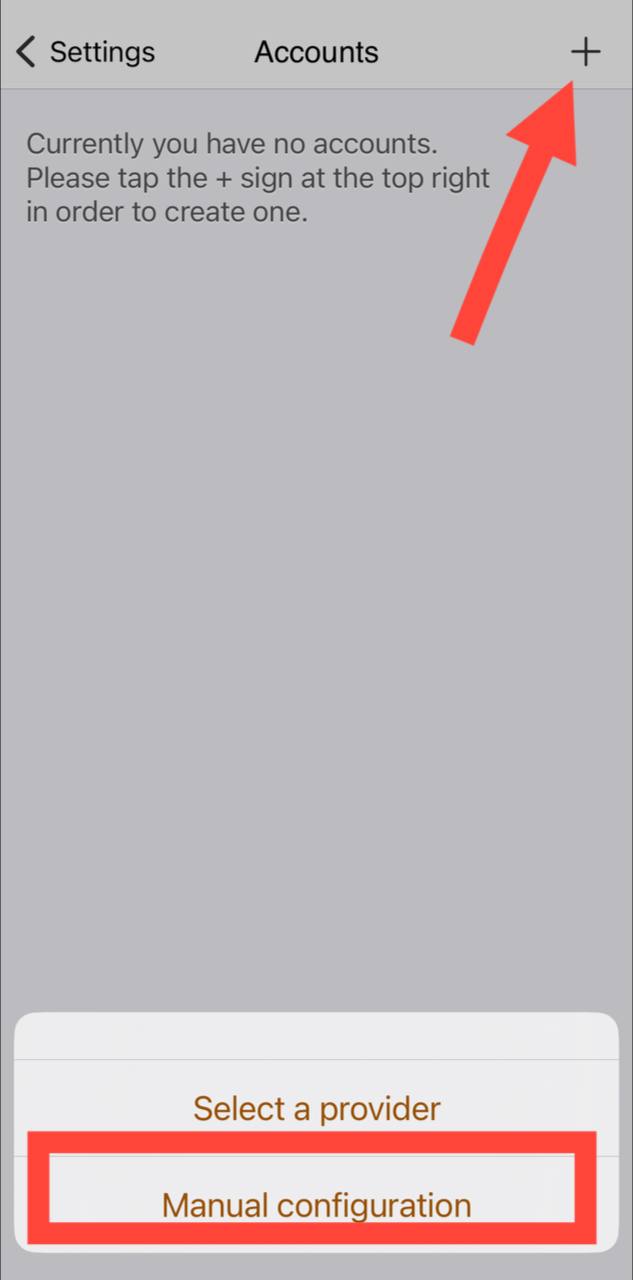
- Choose ''SIP account''.
-
In the new screen, enter data from your personal account (“SIP CONFIGURATION” block):
Account name – can be anything;
Everything else can be left by default.
Domain = host;
User name = username;
Password = secret.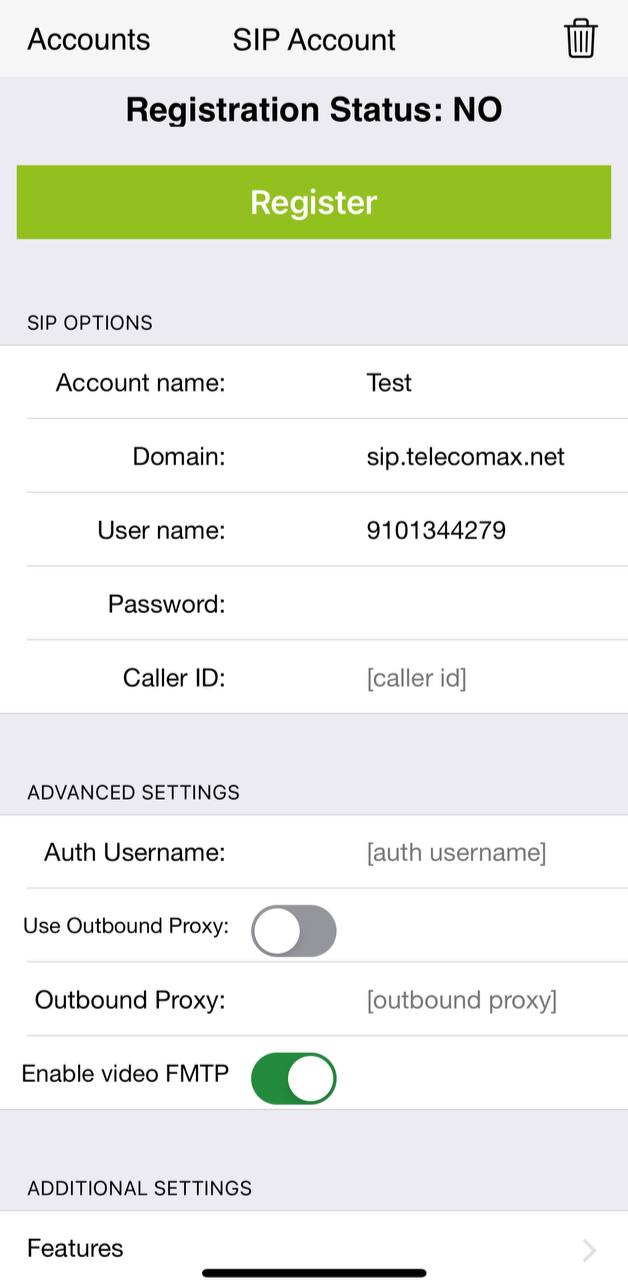
Please note that the data you enter should not contain extra characters and spaces.
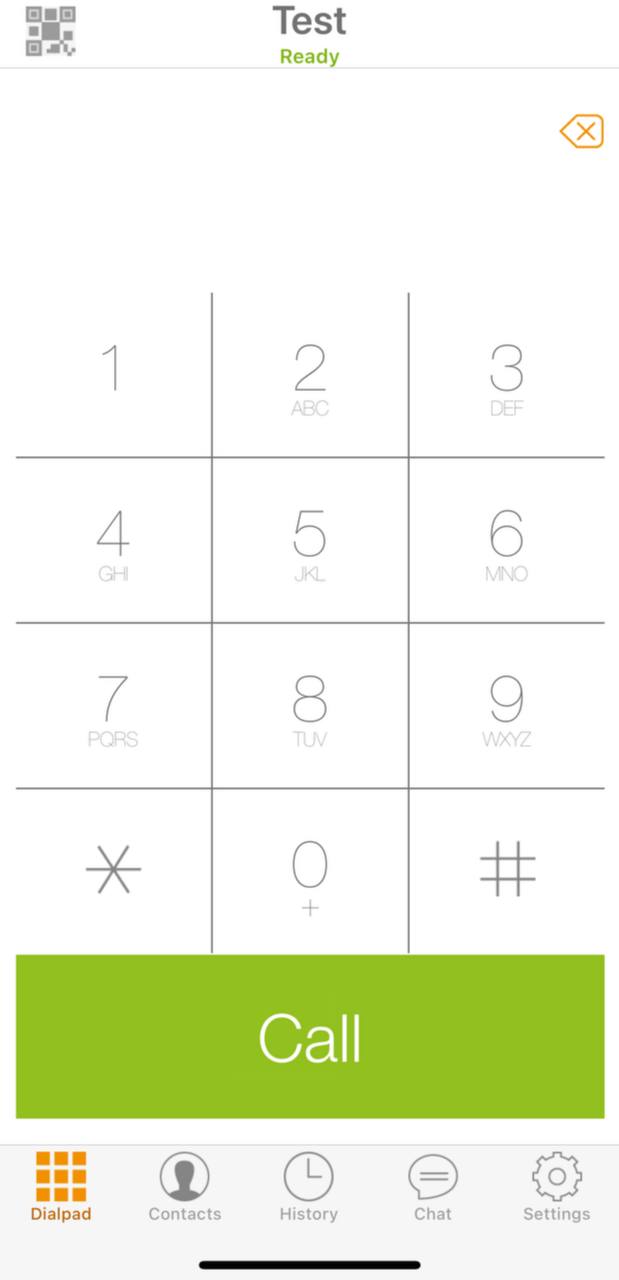
Click the ''Register'' button. - Your account should be now ready for use.
Authorization with the same SIP account is not possible on multiple devices at the same time. If you decide to log in to a new device with the same data, the authorization on the previous device will become inactive.