Using any SIP-client (application for calls with the use of the Internet) will give you the possibility to answer incoming calls that come to the rented virtual number. One of these applications is Zoiper.
To receive and make calls using Zoiper for Android, you will need to do the following:
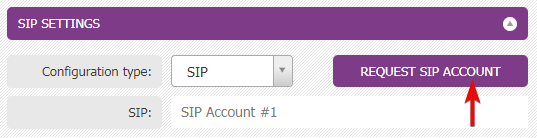
- Purchase a virtual number for calls and request a SIP-account in your personal account in the “SIP SETTINGS” section.
SIP- account is an account in any SIP client. You can log in with our data in Zoiper and other applications (e.g. Linphone, MicroSIP, X-Lite, etc.)
- To download and install the latest version of Zoiper, click here.
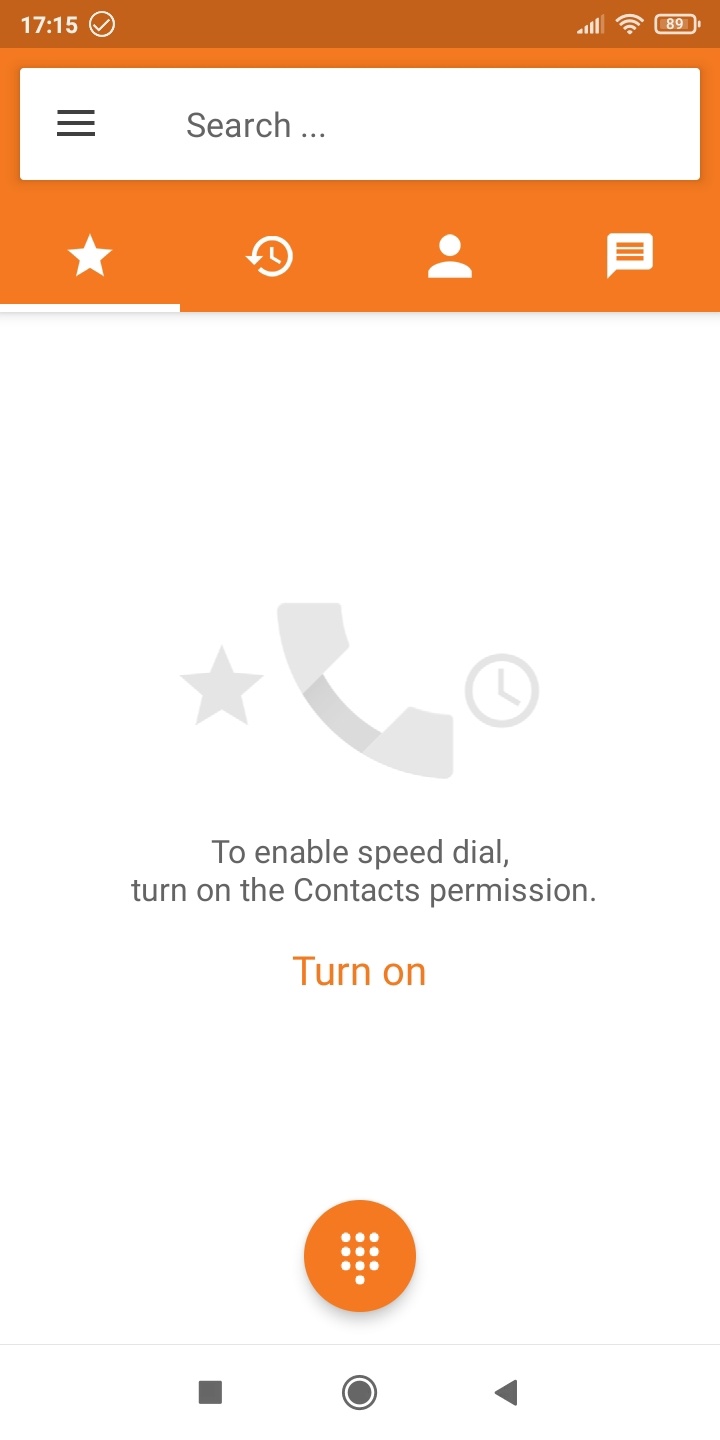
- Run the application and accept the terms and conditions.
- To log in to the app, use the details from your personal account:
— the “username/login” Zoiper field should be set as username@host. These data can be found in your personal account in “SIP SETTINGS”;
— the “password” field (password for authorization) is the same as the “password/secret” data in your personal account.
Please, pay attention and avoid unnecessary spaces during the authorization. Make sure you enter the correct data.
Tap on “Create an account” after the data is set.
- In the next step, you will be asked to enter the hostname. Set it as sip.telecomax.net, then tap on “Next”.

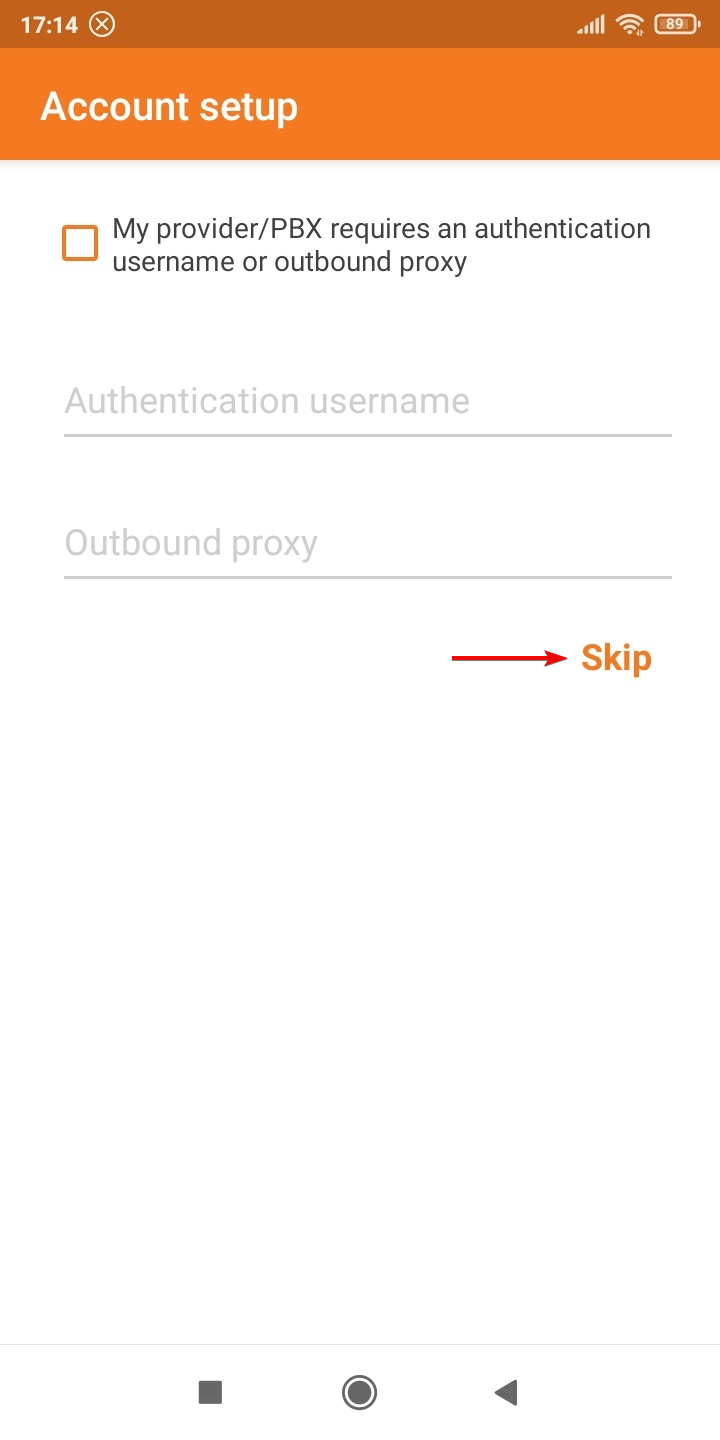
- Skip the “Account setup” step.
- Next, the Zoiper app will look for SIP configurations that are available for your account. Wait for confirmation of the SIP UDP configuration (the line will be green and will be defined as “found”).
If this step is successful, authorization in the application should be completed.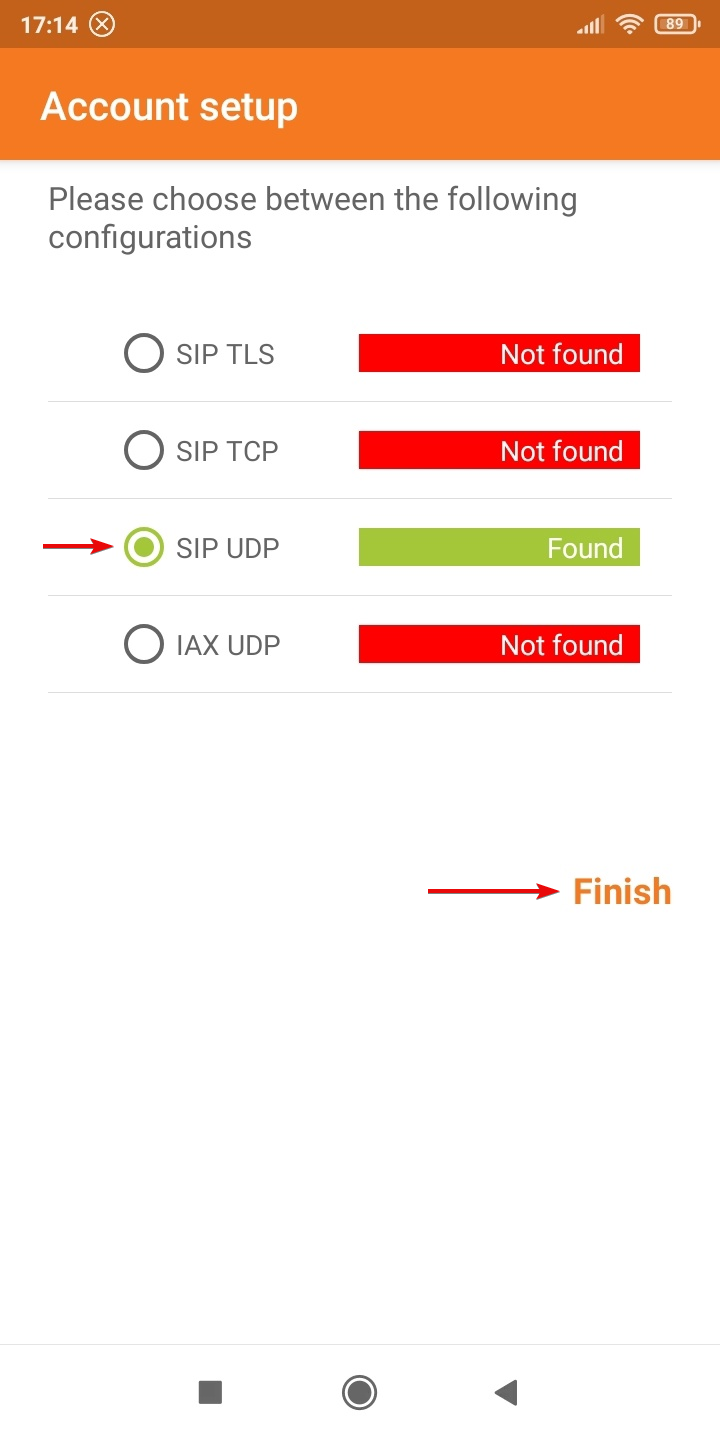
If for any reason Zoiper does not find an available configuration, take the following steps:
— check your Internet connection;
— the operator may block the host “sip.telecomax.net” if you use mobile Internet. In this case, change your Internet provider or connect to Wi-Fi;
— in the settings of your Wi-Fi router add “sip.telecomax.net” to the exceptions.
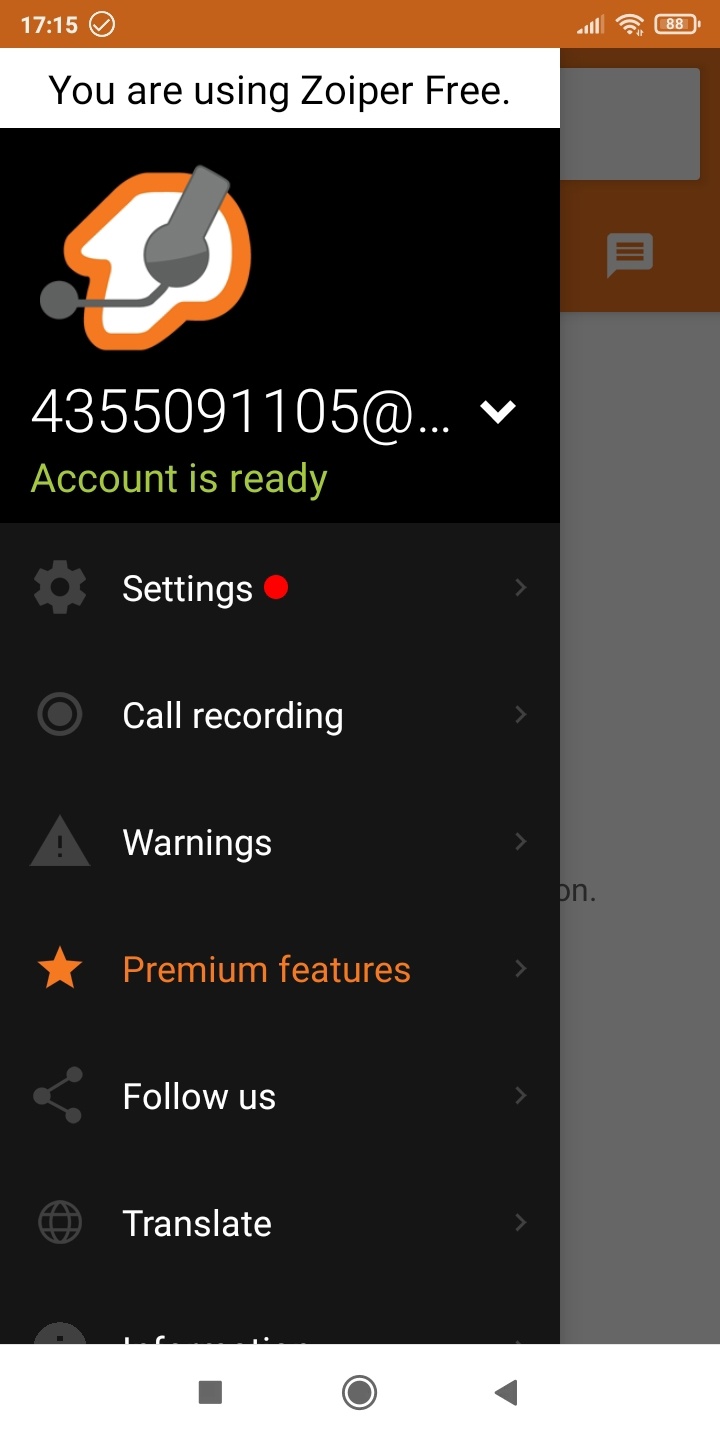
How to understand that your account is ready?
Click on the menu icon in the upper left corner of the app. Ticking “Account Ready” indicates that Zoiper is configured correctly.
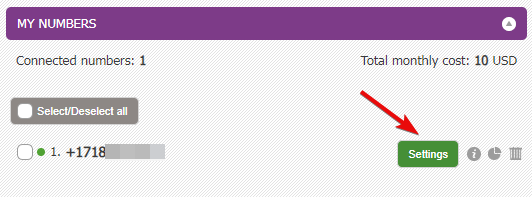
Before you start working in Zoiper, check whether you have correctly prescribed the forwarding of incoming calls from your virtual number to SIP. Go to the number settings in your account.
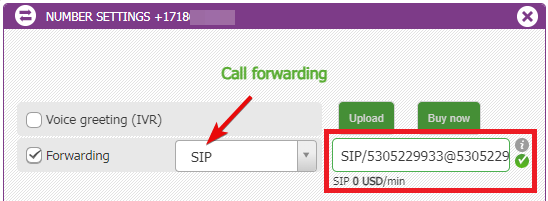
Set the “Forwarding” field as SIP/username@username if you are using a SIP account given by our company. The “username” data can be found in the “SIP and IAX CONFIGURATIONS” section (available after SIP data receiving).
If you are already using another SIP provider, set it as “SIP/ID@provider.com” or “SIP/ID@IP” if you want calls to be forwarded to an IP address. Check ID and IP data with your SIP provider.
In the forwarding settings, you can specify a simultaneous or sequential forwarding to multiple destinations.
— By selecting the simultaneous forwarding, you will be able to receive the same call to two SIP clients or to SIP and the phone number at the same time.
— If you have selected a sequential forwarding, this will allow you to set a timeout to answer the first device, after which the call will be automatically transmitted to the second.
Note! Authorization in the same SIP account is not possible on multiple devices at the same time. If you decide to log in to a new device with the same data, the authorization on the previous device will become inactive.